
Create Your First Campaign
Let’s walk through creating your first email campaign. Follow the steps below to set it up, create your content and define who will receive the email.
Initial Setup
- Log into SendSage Studio, go to the
Campaignstab and clickCreate Campaign:

- Enter a
Name. This name is only used internally, so your subscribers won’t see it:

- Choose the
Mailing Listto use for the campaign:

- Choose whether you wish to use a template. Templates allow you to predefine attributes which will be re-used in campaigns. For example, you could define the default HTML and text bodies, subject, and segment in a template. We’re not using a template in this example:

- Click the
Create this campaignbutton:

Define Your Content
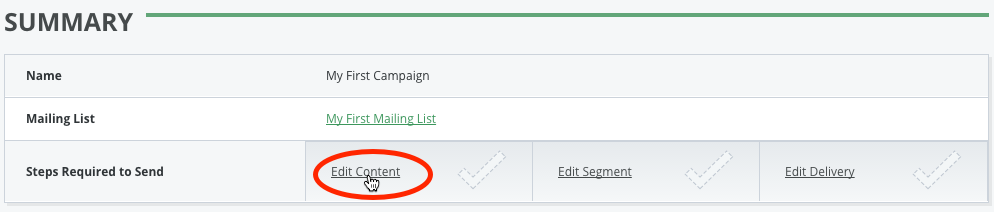
- Click the
Edit Contentlink that appears to the right ofSteps Required to Send:
- Enter the
Subjectof your campaign:

- Use the
Formatdrop down to choose between composingHTML,TextorHTML and Textversions of the campaign. In this example, we’re going to selectHTML and Text:

Create the HTML Version
Enter the content for your email using the WYSIWYG editor, just as if you were composing a document in a word processor. Use the buttons to add appropriate formatting (like bold or italics) and to insert images, hyperlinks, and other components of your email:
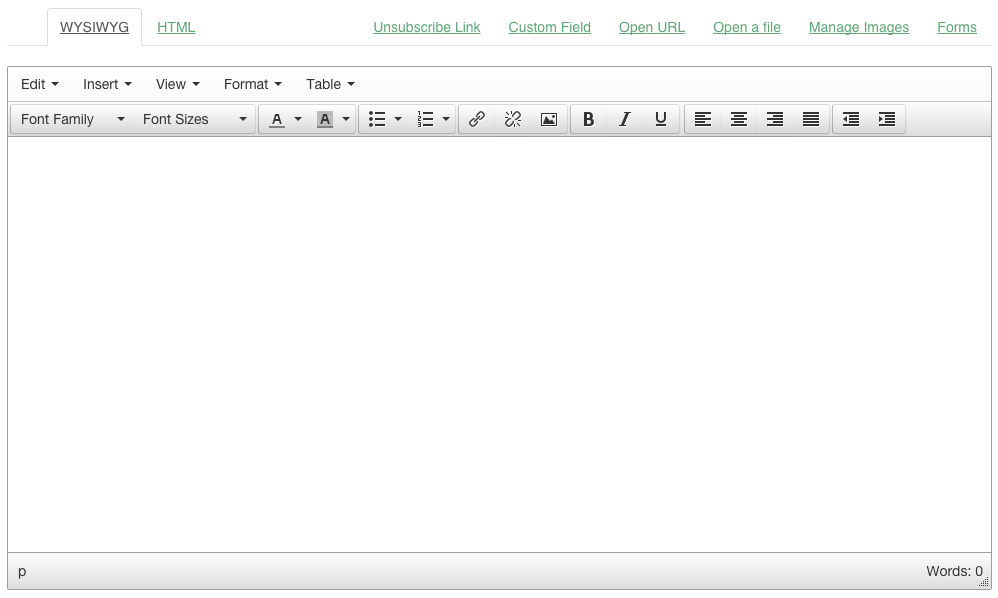
Click on the HTML tab that appears above the WYSIWYG editor if you’d rather edit the campaign’s HTML directly.
You also have the option of importing pre-written HTML by clicking the Open URL or Open a File links that appear above the WYSIWYG editor.
There are a few other special links above the WYSIWYG editor:
-
Unsubscribe Linkwill insert an unsubscribe link when clicked. -
Custom Fieldbrings up a prompt which allows you to select a custom field, such asFirst name. After clicking on your desired custom field name, a placeholder string, like%%First_name%will be inserted. This placeholder will automatically be replaced at send time with the actual custom field value. -
Manage Imageslets you upload images to SendSage Studio to use in your emails. It also lets you select previously uploaded images. -
Formslets you insert a link to a web form. An example of a web form is aModify Subscriber Detailsform, which allows subscribers to update their subscriber record.
Create the Text Version
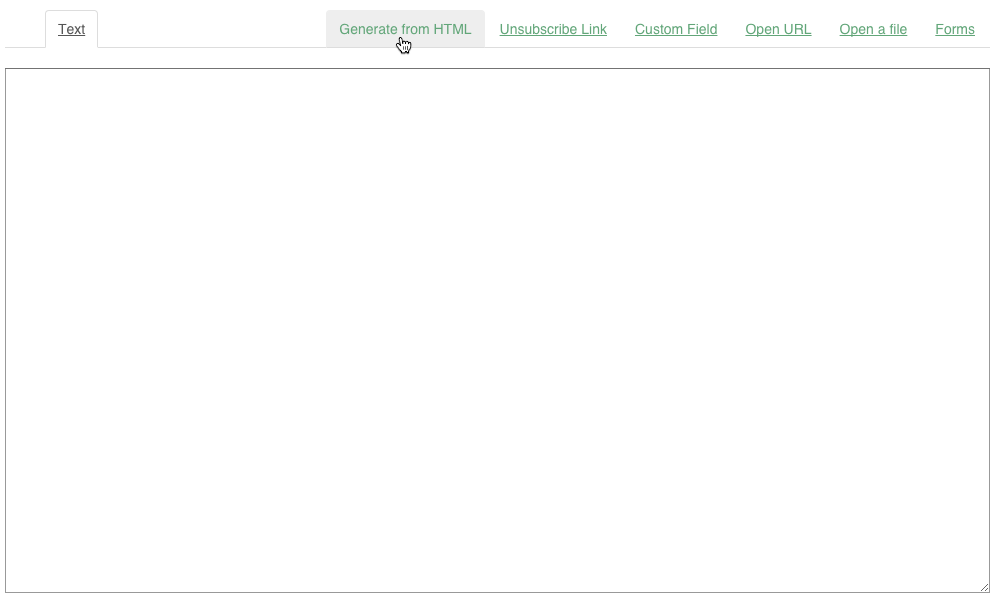
Next, let’s compose the text version of this campaign.
The easiest way to compose the text version of a campaign is to click the Generate from HTML link that appears directly above the text editor. You can also edit the text version of the campaign directly, and either compose it from scratch, or edit the text that was generated by clicking on the Generate from HTML link:
When you’re finished writing your content, click the Update this campaign button:

Choose Your Segment
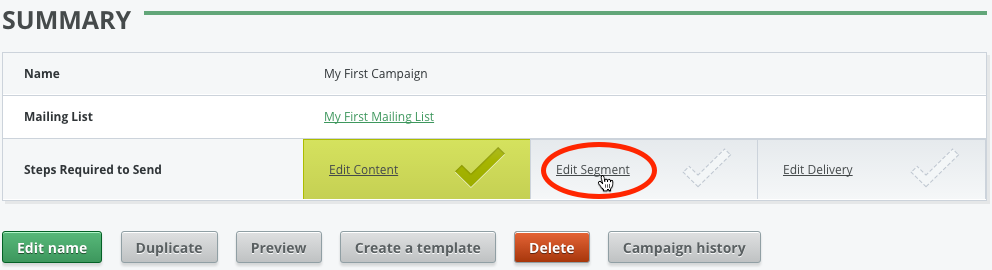
- Click the
Edit Segmentlink that appears to the right ofSteps Required to Send:
- Click
Use this segmentto accept the default segment. This will send to all recipients who have not been deactivated due to a bounce, spam complaint, unsubscribe, or other cause:

Segmentation options are outside the scope of this article. See our Segmentation Builder Basics article if you’d like to learn more about this topic.
Review Delivery Settings
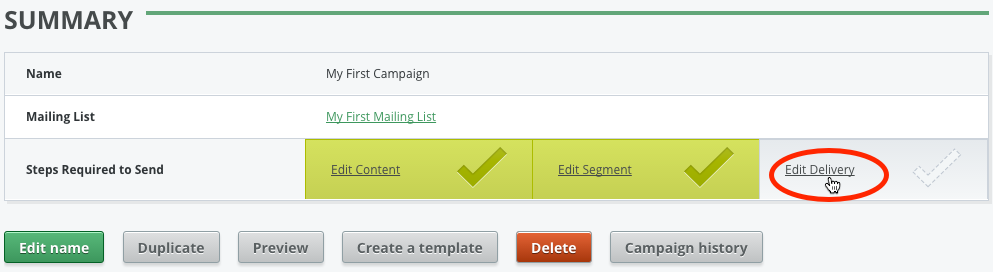
- Click the
Edit Deliverylink that appears to the right ofSteps Required to Send:
-
Many of the delivery settings that you now see had their default values defined when the mailing list was created. See our Import Your First Mailing List article if you’d like more details on those settings.
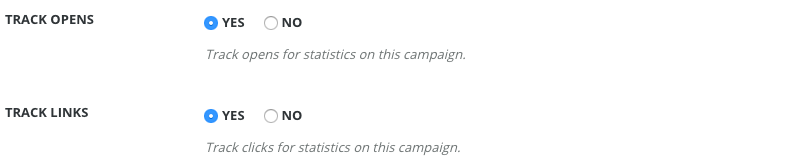
Additional fields on this page include
Track OpensandTrack Links. They’re both on by default, but you can clickNoif you don’t want to track them:
Click the
Update this campaignbutton at the bottom of the page to save the delivery settings:
Preview the Campaign
Follow the steps in this section if you’d like to send a preview of your campaign:
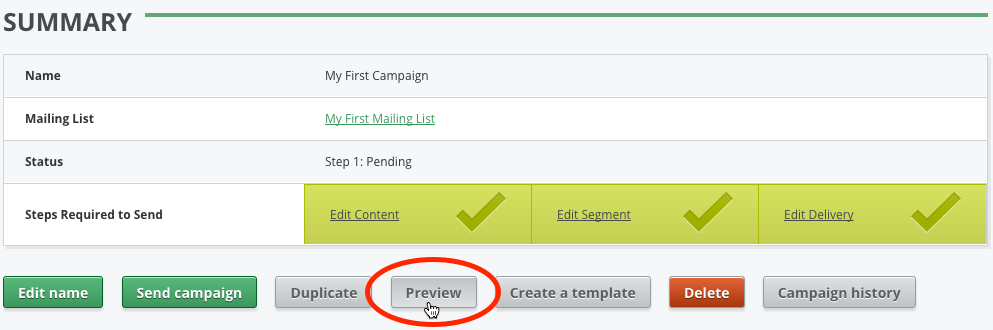
- Click the
Previewbutton:
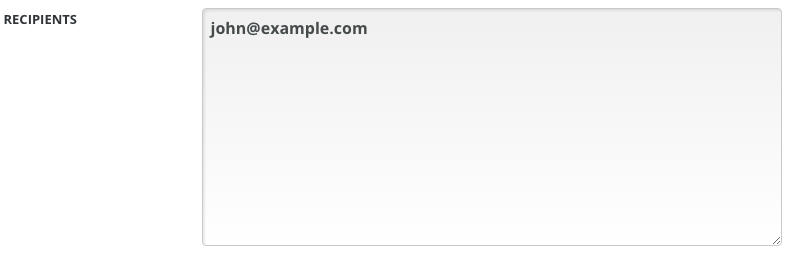
- Enter the desired
Recipients:
- Set
Split EmailstoYesif you’d like separate emails to be sent for the HTML and text previews. The defaultNoselection will send a single multipart email to each recipient which contains both the HTML and text versions of the campaign:

- Click
Send this preview:

Send the Campaign
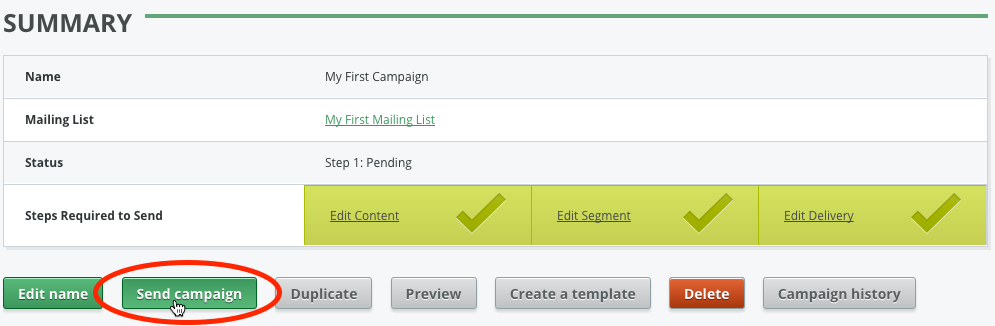
- Click
Send campaign:
-
Next, schedule the campaign to be sent immediately or at another time:

If you’re scheduling the send for later, you can enter a specific date and time or just type in a time relative to now. For example, you can enter
in 2 hours, and SendSage Studio will understand what you mean, as shown by the text that was generated underneath the text field in the screenshot below:

- Click the
Schedule this campaignbutton:

- SendSage Studio now takes you to a confirmation page, where you can review the details of the campaign that’s about to be sent. When you’re finished with the review, click
Send this campaign:

- The campaign is now scheduled, and will automatically start sending at the time that you specified. SendSage Studio will redirect you to the campaign’s home page, where you can see the status of the campaign:
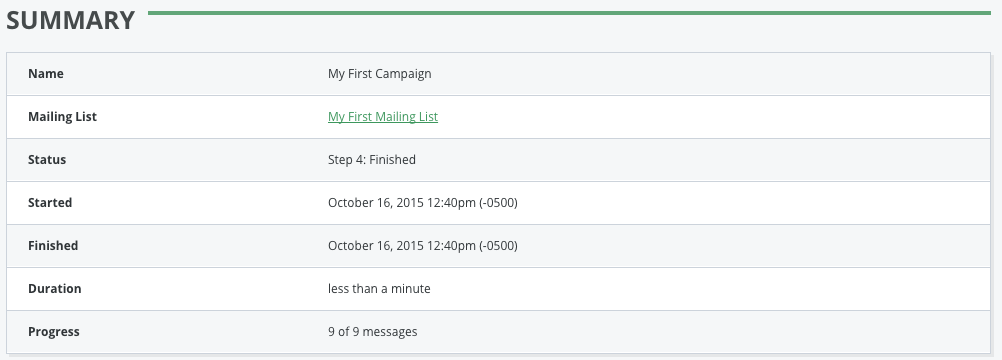
Congratulations! You just created and sent your first SendSage Studio campaign!